April 6, 2010
Crayon Resist Technique
This card is made by stamping on either Whisper White or Glossy White cardstock with Basic Black ink. You will need a WAX crayon too. It’s very important it be a WAX crayon – not a Watercolour crayon – I learnt the hard way. Raid the children’s Crayola crayons!! Choose a stamp that has an element that you can colour in with the crayon, like the image above so that there is some white space for the crayon resist technique.
Stamp in Basic Black ink and then colour in with the WAX crayon the areas that you want to remain white. Use a Stampin’ Sponge or Brayer to rub or roll your chosen colour of ink over the white cardstock. When you’re happy with your ink coverage (play with it a bit to see what differences you can come up with), and then simply wipe off the crayon with a kitchen paper towel. The areas under the crayon will remain white and give quite a pretty look to your card!
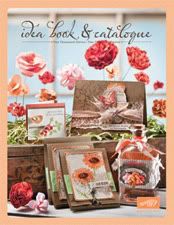
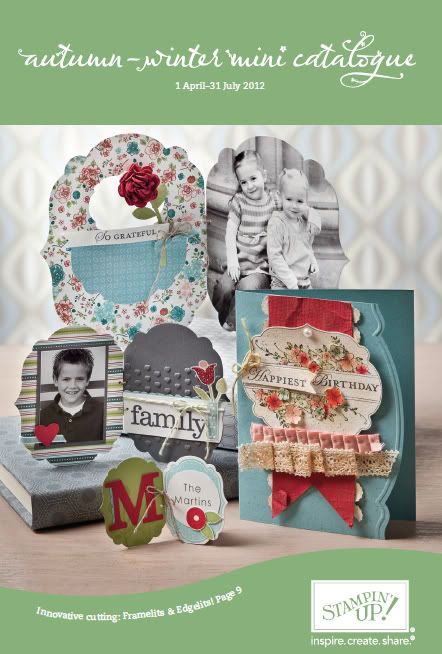
For the card above, I used Whisper White cardstock, Basic Black ink, a white Wax crayon, Pumpkin Pie and So Saffron ink sponged over the white cardstock with Stampin’ Sponges. The stamp set is another of my favourites (aren’t they all? *laughs*) called Scribble This which is available in the current Idea Book & Catalogue.
To see what Crayon Resist looks like on Glossy cardstock, have a look at this card:
The colours are softer and I’ve used Apricot Appeal, Taken with Teal and Certainly Celery.You can see the circular shapes that have been left by the motion of rubbing the ink over the Glossy cardstock with Sponges – but I like the effect. By rubbing over the cardstock with more ink you can deepen the depth of colour in certain areas, so you’ve quite a bit of control about how vibrant you want the card to be. The ink takes that tiny bit longer to soak into the Glossy cardstock so there’s more ‘play’ and ‘smooshing’ of the ink over the cardstock before it ‘sets’.
If you see anything you like on my blog, please don’t be shy about leaving me a comment – I’d love to hear from you! Comments make me happy!!
Julia xx
January 28, 2009
Apricot Appeal and Regal Rose
More cards with Scribble This and Appricot Appeal and Regal Rose (with a touch of Certainly Celery) …
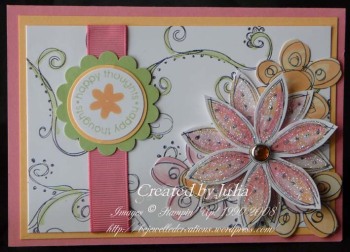
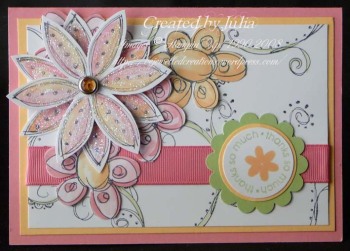
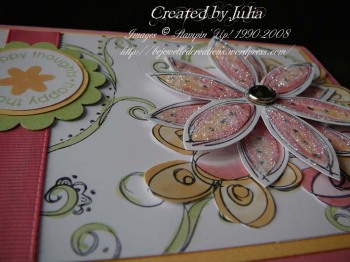
I know I’ve said it before, but you’ve GOT to try colouring in on Glossy White cardstock with blender pens/markers. It’s my NEWEST favourite technique.
January 21, 2009
Continuing my “Scribble This” addiction…
When I made ~> this <~ card a few days ago, I knew I had to try to make a scrapbook page with the similar idea… so, I played around, and came up with this:
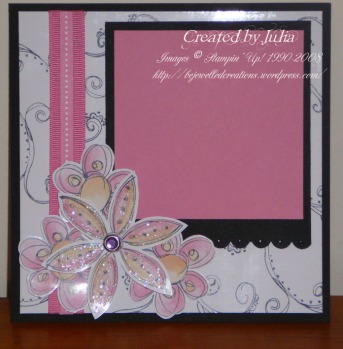
and its facing page…
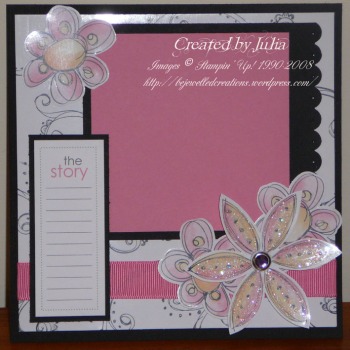
The flash has picked up the shine from the Glossy White cardstock – which is *SO* pretty!!
Originally, I was only going to use black and Regal Rose cardstock and ribbon (the same as the card), however when I was looking at it and deciding where to put things, it needed…. I don’t know…. something. I decided to add another colour to lift it slightly, and chose Apricot Appeal. I don’t think I’ve used Apricot Appeal before, EVER!
Supplies:
Cardstock: Textured basic black, basic black, Regal Rose, Glossy White
Ink: Basic Gray, Regal Rose, Apricot Appeal
Accessories: Regal Rose Grossgrain ribbon, scallop edge punch, matt pack, blender pens, dazzling diamonds glitter, 2 way glue pen, Rhinestone brads, dimensionals Die-cut stickers (Simply Scrappin’ kit)
PLEASE NOTE: If you haven’t tried colouring with Blender Pens on Glossy White – you’re MISSING OUT!!! Oh WOW! The Blender Pens run so smoothly over the Glossy White and never break down the cardstock like can sometimes happen on normal cardstock if you go over the same area too much. The Blender Pens colour in so easily and you can add depth by going over an area again to darken it. *SWEET*.
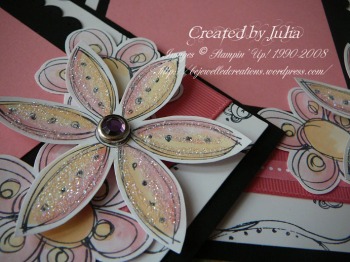
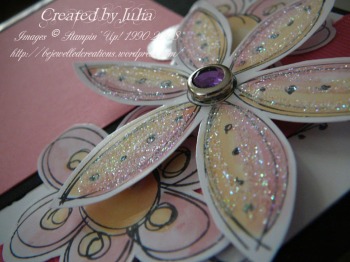
I pricked holes in the scallop edge of the black cardstock matting to match the dots of the Scribble This stamps, and added glitter to the main flowers only. I’ve put a Rhinestone brad in the centre of the large flowers (yes, I know they’re purple, but they “go“, you know?) and used die-cut stickers from the Crew Kids Girl Simply Scrappin’ Kit to finish the pages off.
Tee hee – sorry for posting so many pictures – but I just loved making these pages and I’m really taken with this colour combo. *Le sigh* I know that I don’t have nay photos in the pages yet, I’m thinking of using black and white photos so that they don’t distract from the flowers, what do you think?
January 9, 2009
Scribble This scrapbook page (6×6)
I’d like to share with you a scrapbook page that I used recently at a Workshop – I love the simplicity of it.
This is one of my favourite photos of my daughter – she’d been playing dress-ups and was wearing a circlet that I’d made years ago (when I was considering making wedding circlets and tiaras – oh the things I’ve tried!!) and it just looks so pretty on her. And who would have known that the colours matched Stampin’ Up!’s Purely Pomegranate and Ruby Red?!
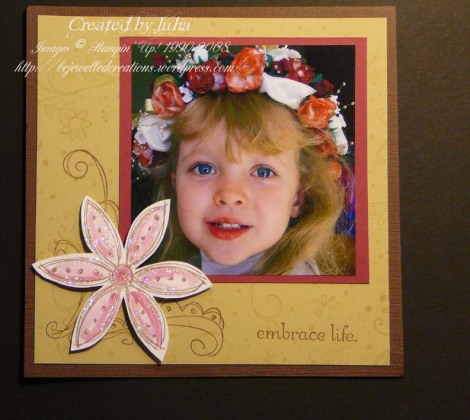
Materials:
Stamp sets; Scribble This, Embrace Life, Scribble Jumbo Wheel
Cardstock; Textured Chocolate Chip, River Rock, Purely Pomegranate, Whisper White.
Ink; Chocolate Chip, Purely Pomegranate, VersaMark.
Accessories; 2-way Glue Pen, Dazzling Diamonds Glitter, Blender Pens, Dimensionals.
Chocolate Chip textured cardstock is the base and I have cut a smaller piece of River Rock to layer on top – the photo shows this is more yellowy than in real life (*note to self: take photographs during the day!*), but it actually looks okay this way too (LOL).
I used VersaMark and rolled the Scribble jumbo Wheel diagonally across the River Rock cardstock. Ink the large doodle from Scribble This in Chocolate Chip and stamp it in the bottom corner. Cut a piece of Purely Pomegranate cardstock to 4×4″ and adhere this to the River Rock CS in the upper right area. On a seperate piece of Whisper White CS, stamp the large flower in Chocolate Chip and use a Blender Pen to pick up colour from the Purely Pomegranate ink pad to colour the flower. I made one edge appear darker than the other and let the ‘stroke lines’ of the Blender Pen remain fairly obvious (I like it this way). Cut around the flower and add Glitter. Adhere this to your page over the bottom left corner of the Purely Pomegranate 4×4 CS with Dimensionals. Stamp “Embrace Life” on the lower area and you’re done! I love this quick layout and it looks great in 6×6.
Enjoy!


